Tinkering with Tiny
An exploration of a new (retro?) game engine
While browsing Hacker News recently, I came across a post about a new game engine called Tiny. The pitch had me intrigued from the get-go:
The virtual console that offers an easy and efficient way to build games and other applications with its Lua programming support, hot reloading, and 256-color maximum.
I’m always on the lookout for new tools to prototype things: making any kind of game at all is usually a big investment of time and effort, and there’s nothing worse than spending too much time on something you don’t end up enjoying yourself - especially if you’re just playing around!
I’m also not an artist, so attempting my own ideas in my free time without the support of a talented team often just leaves me irritated at my own inability to make things look passable, never mind good, so a hard constraint on graphical capabilities is, frankly, a relief! 256 colours? Be still, my beating heart!
What’s more, hot-reloading and lua support suggest that Tiny is, above all else, aimed squarely at programmers looking to do cool things quickly, rather than amazing things ‘properly’, and that, for me, sealed the deal. It also helped that the example game on Tiny’s documentation website is a nifty little version of one of my favourite retro games: Breakout
In this post, I’ll take us through the first basic steps of starting a project with Tiny. Though this post will be rather code-heavy, I’ll try to keep everything simple so anybody can follow along.
First Look
Tiny is simple to get up and running with. Once you’ve downloaded the command-line tools and added them to your PATH, you get started in the terminal with the comically straightforward:
tiny-cli create my-game This command starts up a small configuration process which asks you to fill in a few basic details and then plonks the necessary files into the newly-created ‘my-game’ folder.
In the ‘game.lua’ file, you’ll find the ‘stub’ of a Tiny game, which is composed of three functions:
_init()
This is where you perform any initialisation your game requires.
_update()
This is where you update your game’s state. This function is called on every frame.
_draw()
Like the _update() function, this is called every frame. This is where you should write code which draws things to the screen.
You can see this for yourself (and play around) in the Tiny Sandbox - though it would probably be more helpful if the Sandbox came pre-populated with something functional for you to tweak, rather than landing you with a blank canvas!
The Lua Language
Lua is a scripting language which has become something of a de-facto standard for indie developers and modders, and has found a home even within large development studios owing to its flexibility and rapid iteration times. Even if a game isn’t written purely in lua, it’s common for developers to integrate a lua interpreter into their game, so that ideas and features can be prototyped and tested quickly. Indeed, this is essentially what the developers of Tiny have done: the game engine itself is written in Kotlin, and lua scripts are interpreted at runtime.
This setup avoids irritating compilation times, and allows you to make changes to your code and see the results immediately, without needing to draw a distinction between ‘edit-time’ and ‘play-time’.
To run the game as-is, execute the following command in your terminal:
tiny-cli run my-gameThis will open up a new window where you’ll see your game running. Unfortunately, since you haven’t actually made a game yet, you’ll just get a black screen:
Drawing Something
Undeterred, we push on! Now that we have our stub ready to go, let’s get something drawn on the screen.
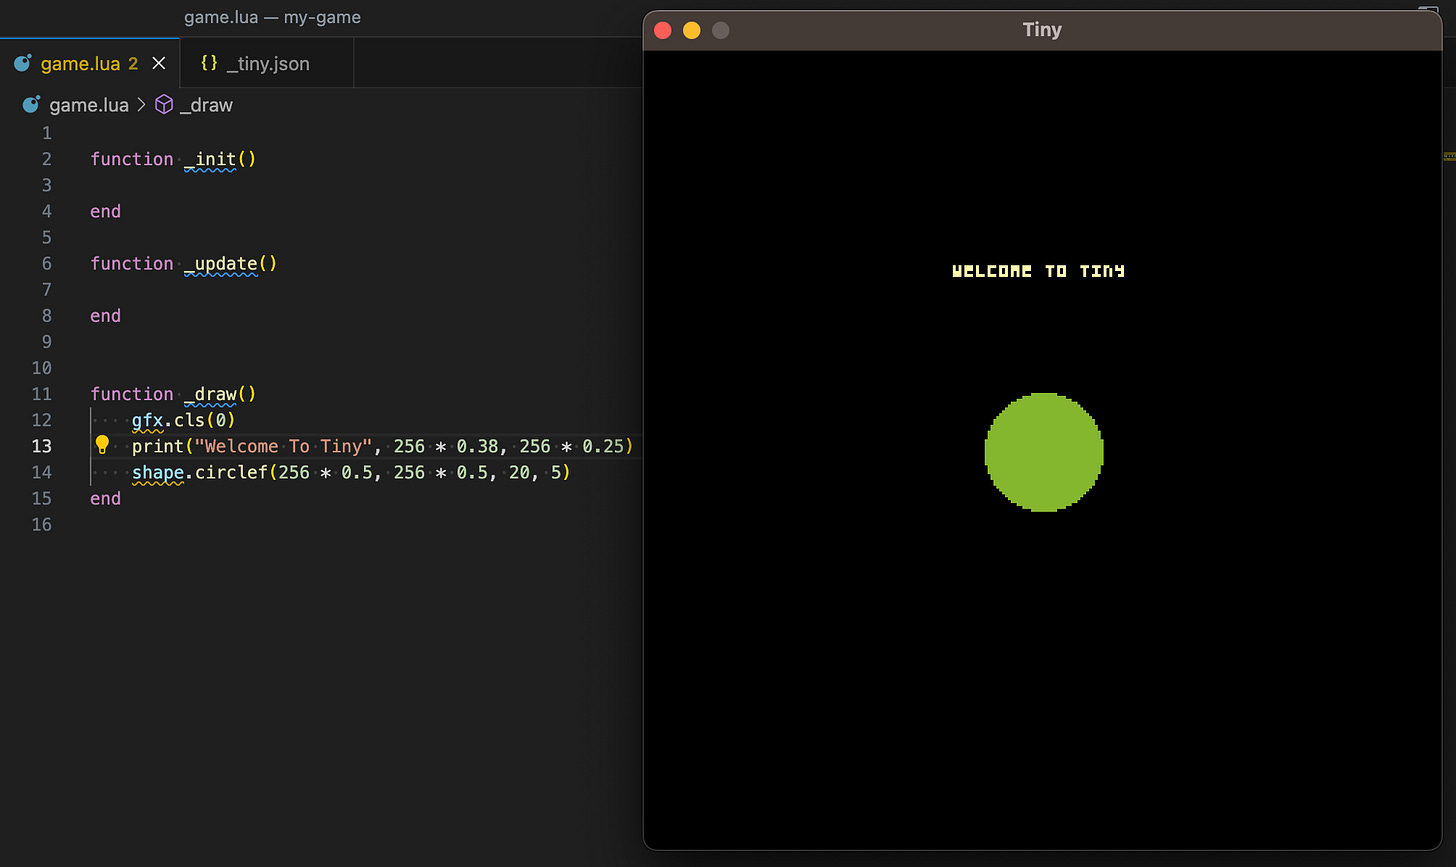
To do this, we need to open our game.lua file and populate our _draw() function with something. Let’s try this:
Let’s break it down:
This means ‘Clear the screen’. We want to do this every time the draw function is called (i.e. on every frame), since if we had any objects animating, they would leave a trail behind if we didn’t clear out whatever the last frame drew. The parameter 0 (zero) passed into the gfx.cls function just translates to ‘black’ - so this means “Start with a black screen on every single frame”.
This prints some text on the screen. In this case, the text we’re displaying is “Welcome To Tiny”, and the following parameters are just positional coordinates. The screen size is 256x256 pixels, so all we’re doing here is roughly positioning the text halfway along the x-axis (allowing some space for the text to appear centred), and a quarter of the way down the y-axis. If I’d used zero for x and zero for y, then the text would appear tucked up into the top-left corner of the screen, since the coordinate system starts in the top-left corner.
This draws a circle, filled with a colour. Here, the parameters are as follows:
X position
Y position
Radius
Colour
Colours are a bit odd in Tiny - they are defined in the _tiny.json file which lives alongside your game.lua file. This is apparently not actually documented anywhere, so it took a little mucking about for me to discover this! In this case, ‘5’ corresponds to hex code #8FB347 - which is a grassy-green colour.
What does the above give us, I hear you ask? Behold!
Animation
Drawing a static image is all well and good, but it’s not very interesting, so in the spirit of my Digital Doodle from a few weeks ago, let’s get our circle moving!
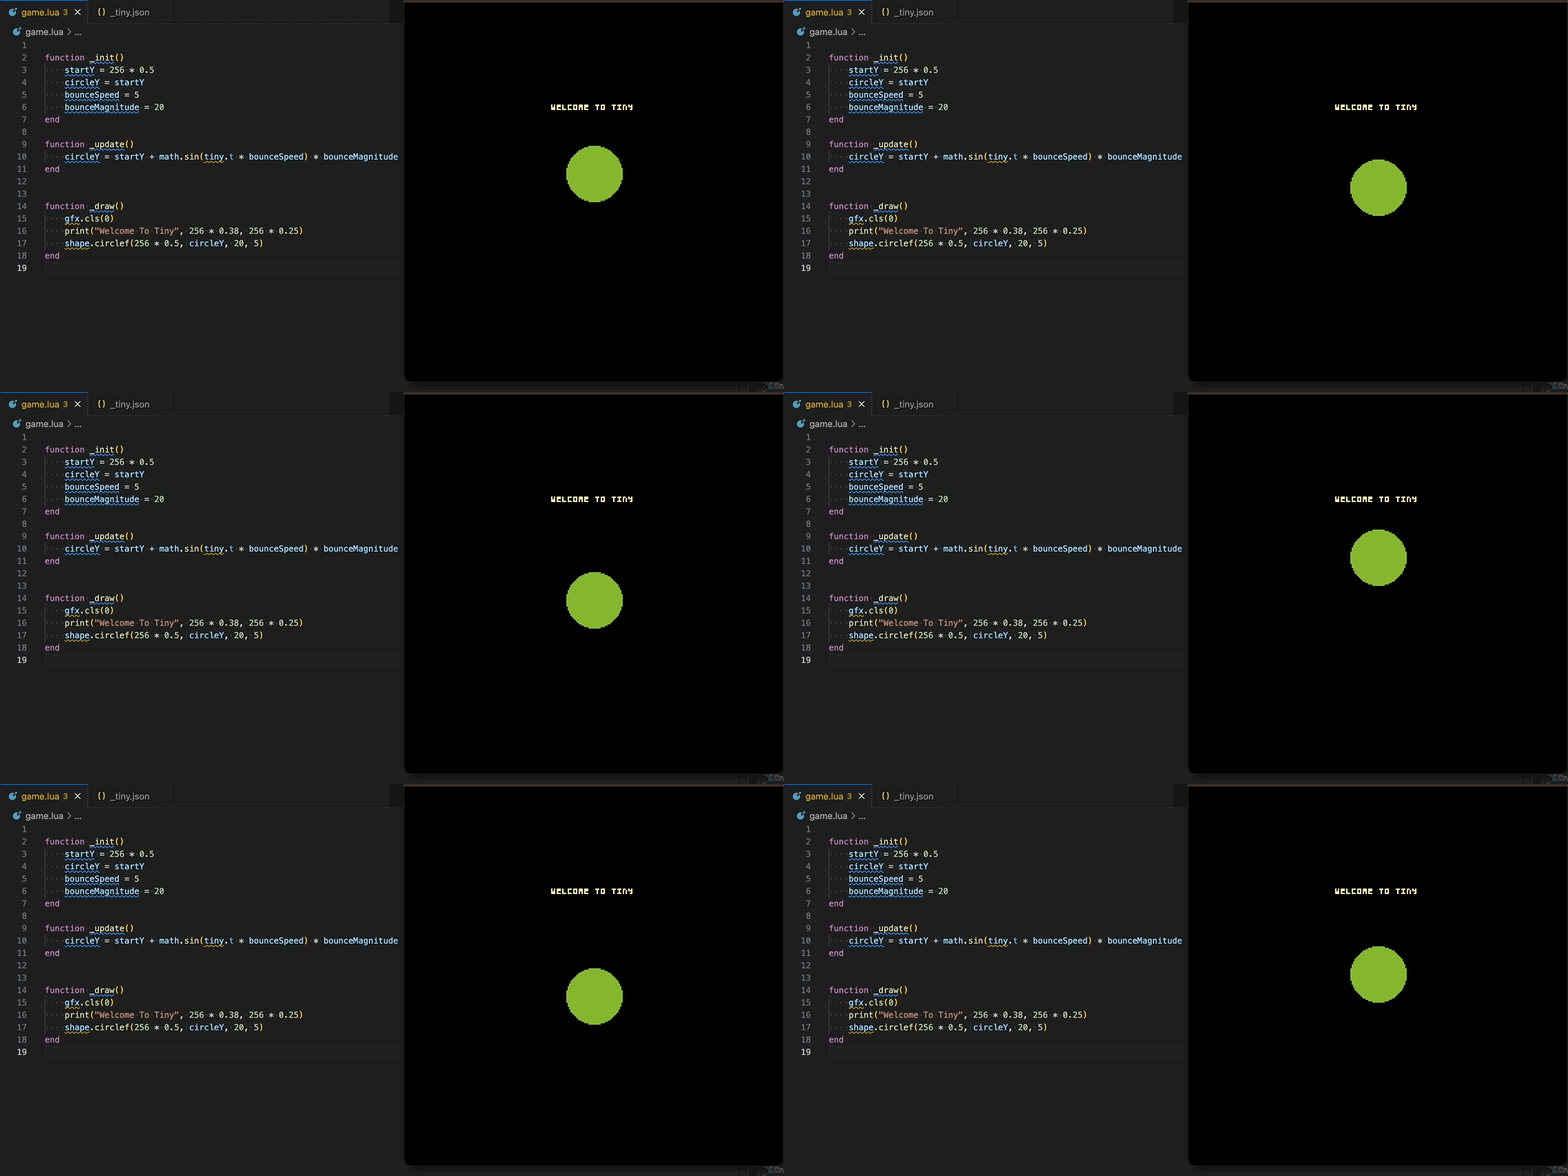
We’ll replace our code with the following:
Flicking back over to the Tiny game window, we can see our game has updated instantly with our new, glorious animation code:
In our new code, we’ve filled in our _init() and _update() functions, and modified our _draw() function:
_init()
We set up the starting Y position - startY - for the circle we draw earlier
We set a new variable - circleY - specifying the current Y position for the circle
We give our circle a bounceSpeed - governing how fast it should move
We give our circle a bounceMagnitude - which controls how far it should move
_update()
We use a relatively simple calculation based on a Sine function to determine an offset from the starting position (startY). You can find plenty of explanations for what this actually does elsewhere, but essentially the end result is that you end up with a nice, repeating periodic value which gives a smooth, pendulum like effect when rendered visually.
Note the use of tiny.t used as a parameter in the call to math.sin: this provides the current time since the game started. This is a very useful value to keep track of, alongside it’s little brother tiny.dt, which represents the time between frames.
_draw()
Here we’ve just replaced the y coordinate of our circle with a reference to the circleY variable we set up earlier.
How does this all come together?
_init() is executed once, as soon as your game begins
_update() is executed on every frame
_draw() is executed on every frame, after _update()
Input
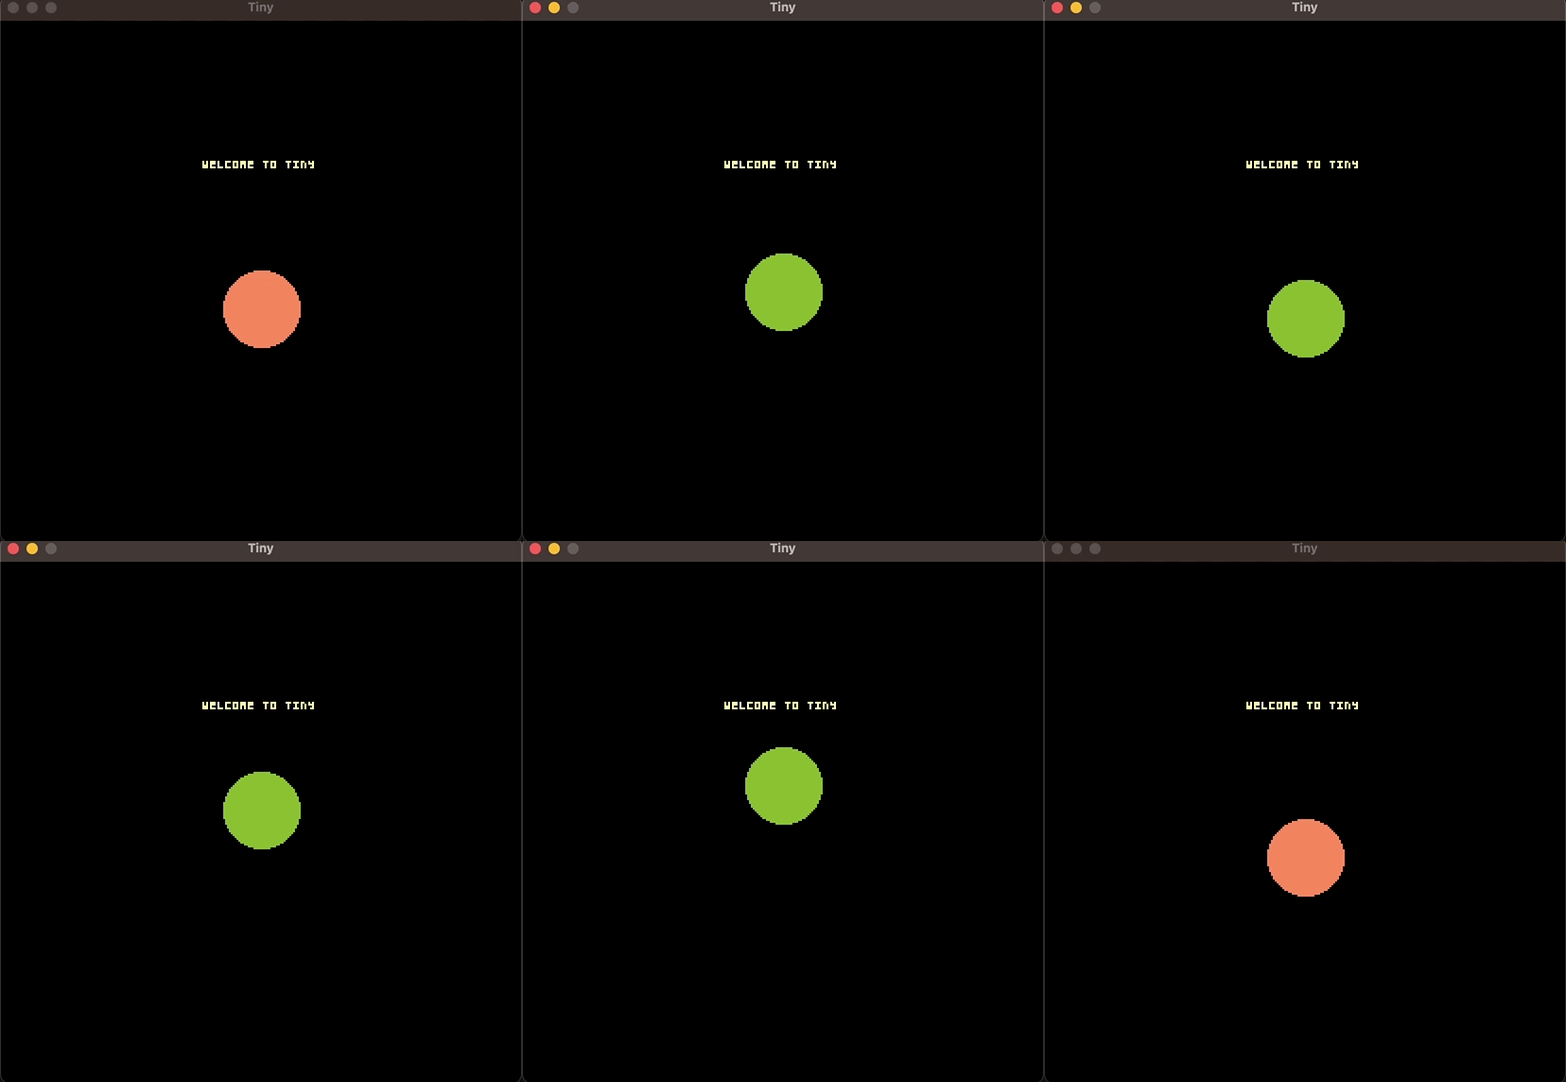
A game wouldn’t be very interesting if the player couldn’t do anything, so the last basic piece we need to figure out in order to start making something interesting is user input. Thankfully, Tiny also makes this easy too, so let’s update our code once again:
In our _init() function, we’ve added:
A new variable called moving, which lets us control whether the circle is animating or not
A new variable called colour_moving which we’ll use to specify the colour of the circle if it’s moving
A new variable called colour_stopped which we’ll use to specify the colour of the circle if it’s stopped
A new variable called current_colour which we’ll use to keep track of the correct colour to use on each frame.
In our _update() function, we’ve added:
A check against ctrl.pressed
We pass in keys.space as the parameter, which means we’re asking ‘Was the space key pressed?’
If the space key was pressed, then we negate (invert) the value of our moving variable. This means that if moving is currently true, then we’ll set it to false, and vice-versa.
A check against the value of moving
We will now only update the circle’s position if moving is set to true.
If moving is true, then we set the value of current_colour to that of colour_moving
If moving is false, then we set the value of current_colour to that of colour_stopped
And finally, in our _draw() function, we’ve replaced the colour parameter for our call to shape.circlef with a reference to our current_colour variable.
You’ll notice that the animation is now a little janky and doesn’t smoothly resume from the circle’s current position as you toggle between moving and stopped. This is because our animation calculation is based on the time since the game was started. If we want to fix this, we need to create a new variable which keeps track of time, but only increases when we want it to. As a challenge, I’ll leave it to you to work out the solution! Astute readers may have noticed a subtle hint earlier on.
Final Thoughts on Tiny
I’ve been enjoying mucking about with Tiny. It makes a nice change from the big game engines, and there’s something relaxing about stripping away all of the bells and whistles that other game engines provide and just working within some strict limitations. There are a few frustrations: the documentation is incomplete and doesn’t explain some things particularly well, and I’m fairly sure I’ve found a bug in one of the math functions which led to me writing my own replacement. No doubt there’ll be other issues I discover along the way, but it’s still early days for this game engine and I’m enjoying what I’ve played with so far.
If you’ve ever fancied making a game, or would just like to play around with something almost pathologically retro, then you won’t go wrong with Tiny. If the authors keep up development, I can see this engine being a great fit for the indie retro scene. They’ll need to resist the temptation to keep adding new features if they really want to emulate the old-school console feel, but they’ve done a great job so far and I’d recommend it to any hobbyist or interested indie dev!
Wrapping up, and next steps
By putting together everything we’ve explored above, you can see how a game can start to take shape pretty quickly! You won’t be getting any super fancy graphics or incredible physics simulations any time soon with Tiny, but with a little experimentation, you’ll be able to pull something together in no time!
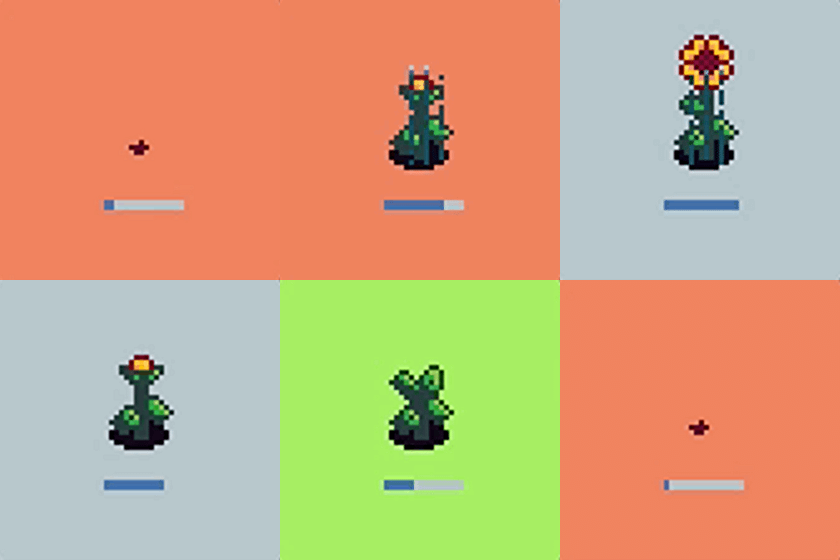
I’ve decided to start a project using Tiny to make a small game, just for fun. It’s called Tiny Gardening - a game where you need to keep your garden alive by watering your plants whilst battling against weather, pests, and the inevitable passage of time, and I’ll be posting regular updates as I make progress. When I was first learning how to code (many years ago) one of the very first programs I wrote was a text-based simulation of an orange tree, where you had to water the tree and collect the oranges regularly. I don’t know why, but there’s something about simulating plants which keeps coming back to me, so why not continue the theme with Tiny?
There’s not much to see so far - just the basic skeleton of a game - but I’ve done enough work on the internals that I’ll be able to start making some decent progress soon: some generic Entity classes, a debug tool to check object boundaries and (soon) collisions, and a very basic state system to allow me to easily manage the different states the game is allowed to be in.
If you’d like to follow along, you can check out the source code on GitHub, and I’ll upload the latest version here for you to play whenever there’s any meaningful progress.
As always, if you’ve enjoyed this post and would like to receive future updates (and, in time, a game that even your gran might like to play) then hit the Subscribe button below. If you’d like to support this newsletter then a paid subscription will help me to keep writing this kind of content and more.
Are you interested in playing around with Tiny? Let me know your thoughts in the comments, and feel free to share this post for anybody who may be interested!
If you enjoyed this post, check out the follow-up:
Tiny Gardening
A few weeks ago, I posted an introduction to the Tiny game engine, which you can read at the link below: Since then, I’ve been sporadically working on a little game called Tiny Gardening, which is intended to be something of a re-vamp of one of my first coding projects:


Great article Tom. You show that there are always new dynamic realms to discover, not just in cutting edge, but in retro. The problem is keeping up with them all... 😁
This was a nice intro. I want to try this, too. Although I don't know any lua, looks like I can figure it out as I go along.